How to Choose the Best Bird Control Spikes for Your Needs
Choosing the right Bird Control Spikes starts with understanding the birds, the surface, and the problem area. A narrow window ledge may need a low-profile strip, while a wide roof beam may require broader coverage. Check the material, spike spacing, weather exposure, and installation method before comparing prices. A poorly matched product can leave gaps—or create maintenance headaches after the first windy week.
Bird-management specialist Dr. Elena Morris offers a useful principle: “Choose a deterrent that fits the site, not just the product photo.” The quote captures an important point: there is no single spike design for every building. Inspect where birds land, how much space they use, and whether nearby gutters or signs complicate installation. Small details matter.
This guide will help you compare spike types, materials, coverage, and upkeep. It will also consider humane use and practical limits. Spikes should discourage perching, not injure birds; correct placement and a suitable design are essential. Measure twice. Look closely. And be honest about what you cannot assess from a product listing alone. If access is difficult or the site has unusual features, an experienced installer may spot risks that a quick online comparison misses. That extra check can save time, though it cannot guarantee every bird will stay away.
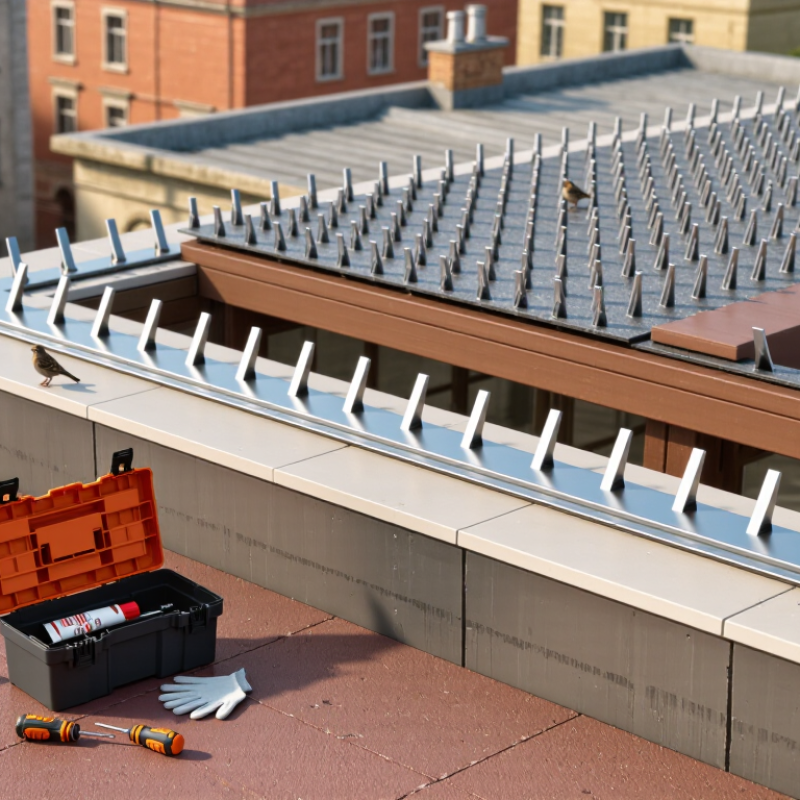
Identify Target Bird Species and Perching Patterns Before Selecting Spikes
Before choosing bird control spikes, identify the birds using the ledge, roof edge, or sign. Cornell Lab of Ornithology’s All About Birds species accounts report rock pigeons at about 11.4–14.7 inches long, while house sparrows measure about 5.9–6.7 inches. These differences matter, but body length alone does not determine the right spike design. Look closely. Note whether birds land singly or in groups, and whether they use a narrow railing or a broad, sheltered ledge. Check at different times of day; one visit can give a misleading picture.
Track where birds touch down, face, and leave droppings, then match spike coverage to those exact perching zones. A broad ledge may need a wider protected area than a narrow pipe. Small birds may use gaps between fixtures, so inspect corners and joins rather than only the open surface. Cornell Lab species accounts can help confirm likely species, but local observations should guide placement. Select a system whose manufacturer specifications suit the surface and target birds; do not assume one spike profile fits every site. I would not guess from feathers alone. Recheck after installation, since birds may shift to an unprotected nearby edge. Keep the surface clean enough to see fresh landing marks and adjust coverage where activity persists.
Measure the Ledge and Match Coverage to Common 3–8-Inch Spike Strips
Measure the ledge before choosing bird control spikes. Use a tape measure across the full landing surface, including wider sections near corners or downspouts. Many spike strips cover about 3 to 8 inches, but actual dimensions vary. Check the listed coverage, not just the strip’s overall width. A narrow ledge may need one row, while a broad sill can leave a usable landing area beside it. Small gaps matter.
Tips: Measure in several places. Note corners, joints, and obstacles. Add the strip lengths together, then compare them with the ledge’s total length. Leave no unplanned gaps where birds could settle.
For a long ledge, plan how strips meet before installation. Keep coverage continuous, and check whether the ends or corners need careful trimming. Follow the product instructions for suitable surfaces and attachment methods. Dust, peeling paint, or uneven masonry can affect how securely a strip sits, so inspect the surface first. Recheck your measurements; even a careful estimate can miss a few inches. That small error may leave an inviting perch. If the ledge changes width, measure each section separately rather than forcing one coverage plan across the whole edge.
Compare 304 Stainless Steel, with 18–20% Chromium, and UV-Resistant Plastic
How to Choose the Best Bird Control Spikes for Your Needs
Material choice matters most where spikes face rain, sun, and frequent cleaning. For exposed roof edges or coastal sites, 304 stainless steel is a strong option. ASTM A240/A240M specifies 18–20% chromium in Type 304, helping the alloy resist corrosion. That does not make it rust-proof: salt deposits, trapped debris, and poor drainage can still leave stains or corrosion marks. Check welds and cut ends, too.
Small details matter.
UV-resistant plastic spikes are lighter and can suit sheltered ledges or installations where metal weight is a concern. But “UV-resistant” is not a service-life guarantee. Ask for test results, not just a label. ASTM G154 sets procedures for exposing plastics to fluorescent UV light and moisture; it does not predict years of outdoor use by itself. Compare the test duration and conditions with your site’s sun exposure. A shaded wall and a sun-baked parapet are not equivalent.
Not always obvious.
In practice, inspect plastic for brittleness and discoloration, and stainless steel for loose fittings or debris buildup. I would not choose on material alone: base attachment, spike spacing, and cleaning access can matter just as much.
Choose Spike Height and Density for Bird Size, Landing Space, and Site Exposure
Choosing bird control spikes starts with the birds using the site. Small birds may settle in narrow gaps, while larger birds need broader, sturdier landing areas. Match spike height and spacing to the target species and the width of the ledge, beam, or sign. A dense pattern can discourage small birds from slipping between rows. Taller spikes may suit larger birds, but they should not extend into walkways or create snagging hazards.
Exposure matters, too. On a windy roof edge, secure mounting and corrosion-resistant materials may matter more than extra height. Check the surface for loose grit, peeling paint, or standing water before installation; these can weaken adhesion. Measure twice. Small gaps matter. It is easy to overestimate how much coverage a ledge needs, so inspect the area from several angles before choosing a layout.
Tips: Use a tape measure to record landing-space width, then compare spike spacing with the birds’ size. Check corners, drain edges, and gaps beside signs. After installation, inspect the spikes following strong wind or heavy rain. If birds still land, review the spacing and coverage rather than adding height automatically. A second check can reveal what the first one missed.
Check Local Wildlife Rules, Mounting Surfaces, and Routine Inspection Needs
How to Choose the Best Bird Control Spikes for Your Needs
Before buying bird control spikes, check local wildlife rules and guidance from the relevant wildlife agency. Restrictions may depend on the bird species, season, or nesting activity. If birds are already nesting, pause and seek qualified advice rather than disturbing the site. Rules can be easy to overlook, especially around shared buildings. A few minutes of checking can prevent a poor choice.
Tips: Match the mounting method to the surface. Brick, metal, wood, and painted ledges need different fasteners or adhesives. Clean away dust and loose debris, then follow the product’s installation instructions. Do not assume adhesive will hold on a damp or crumbly surface. Small details matter.
Consider how you will inspect the spikes after installation. Wind, rain, and temperature changes can loosen fittings, while leaves and nesting material may collect between rows. Choose a layout that you can safely reach for routine checks. Look for bent sections, gaps, or damage to the ledge beneath them. It is tempting to install a long run and forget it, but regular inspection is part of keeping the setup effective and humane. If access is difficult, plan for safe maintenance before choosing the location.
How to Choose Bird Control Spikes for Your Needs
Compare the key checks before installation. Scores show illustrative planning priority, not measured product performance; local conditions may change what matters most.
Check applicable wildlife rules before choosing a system. Confirm the mounting surface is suitable, and plan routine inspections to keep the installation secure and clear of debris.